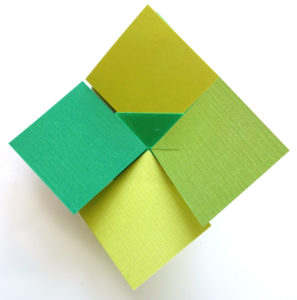
I learned this book structure many years ago by reverse-engineering a greeting card (let me know if you know its origin!) It flips open in a very satisfying way. Here’s how to make it.
Materials:
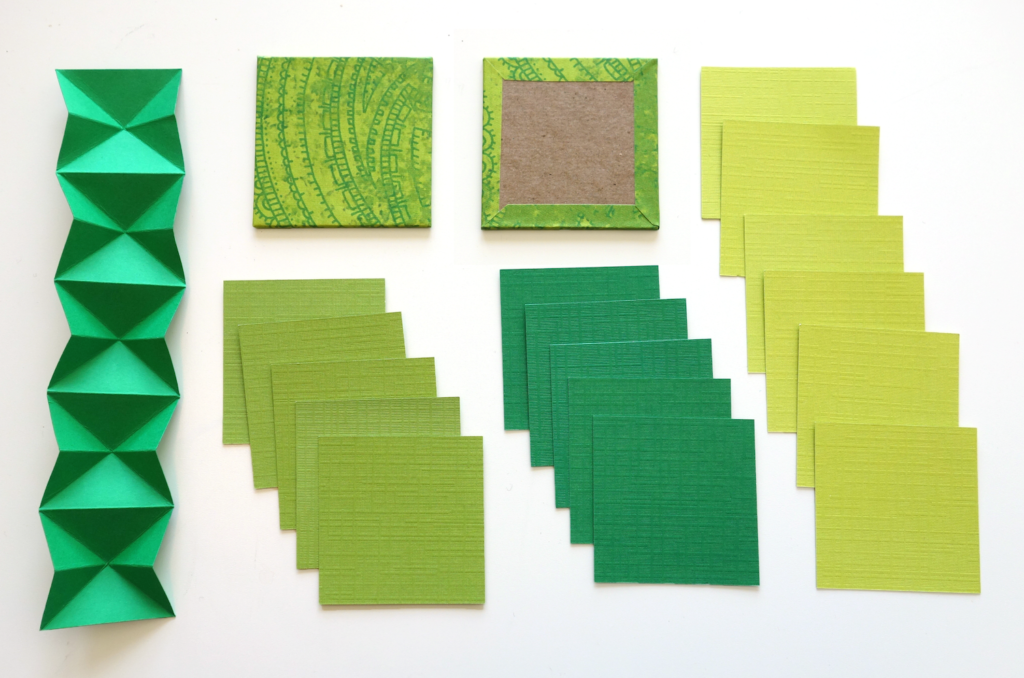
You can make these as long as you want, and you can play with the spacing between panels by making the spine strip wider or narrower relative to the pages. The pieces in this example are:
- Five 2″ x 2″ squares in one color
- Five 2″ by 2″ squares in another color
- Six 2″ by 2″ squares in a third color
- One 7.5″ x 1.5″ strip for the spine, with vertical mountain folds every 3/4″ and diagonal valley folds at 1.5″ intervals
- Two book board squares slightly larger than the pages and covered with decorative paper on one side, wrapped around to the back.
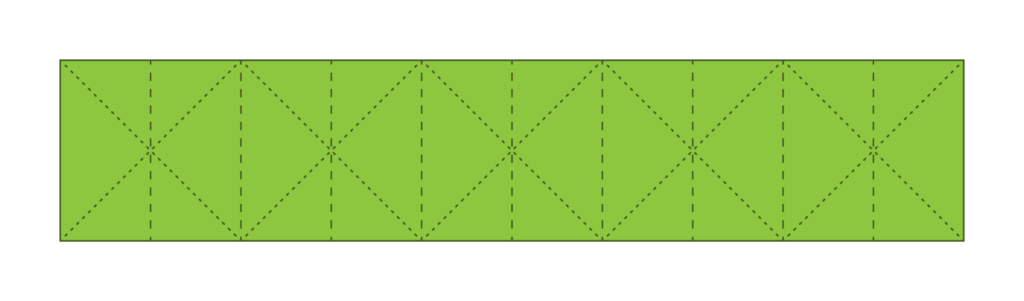
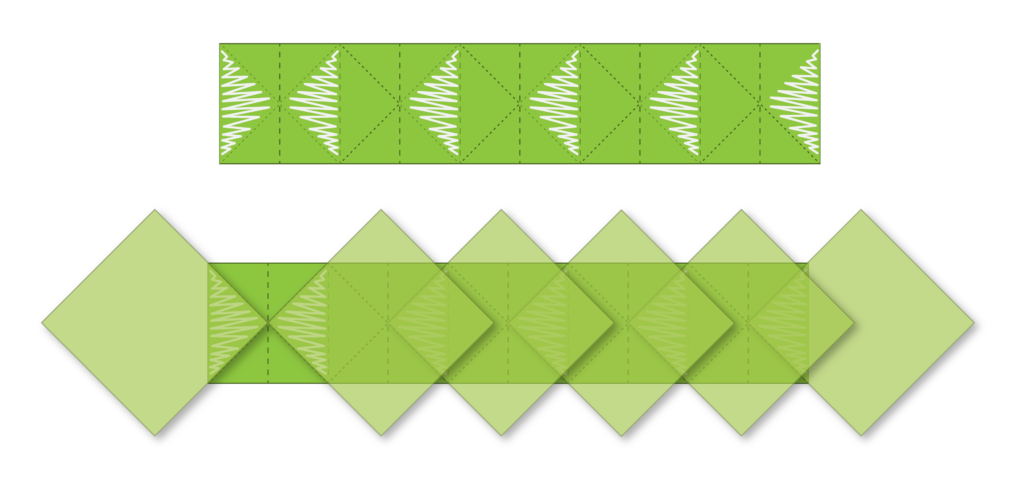
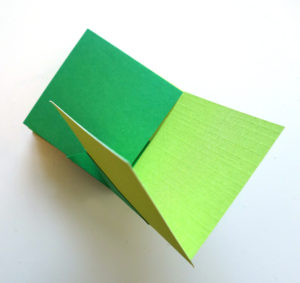
Step 1: Fold the spine strip. Narrow dotted lines are valley folds, wide ones are mountain folds.
Step 2: Add glue and place pages. You can do this in any order that works for you, but I’ve drawn it out in two steps here so you can see where they are attached more easily. Personally I like to add these one layer at a time, folding the spine strip and pressing in between layers to make sure the pages align and give the glue time to dry.
The center pages, with glue placement marked:
The side pages:
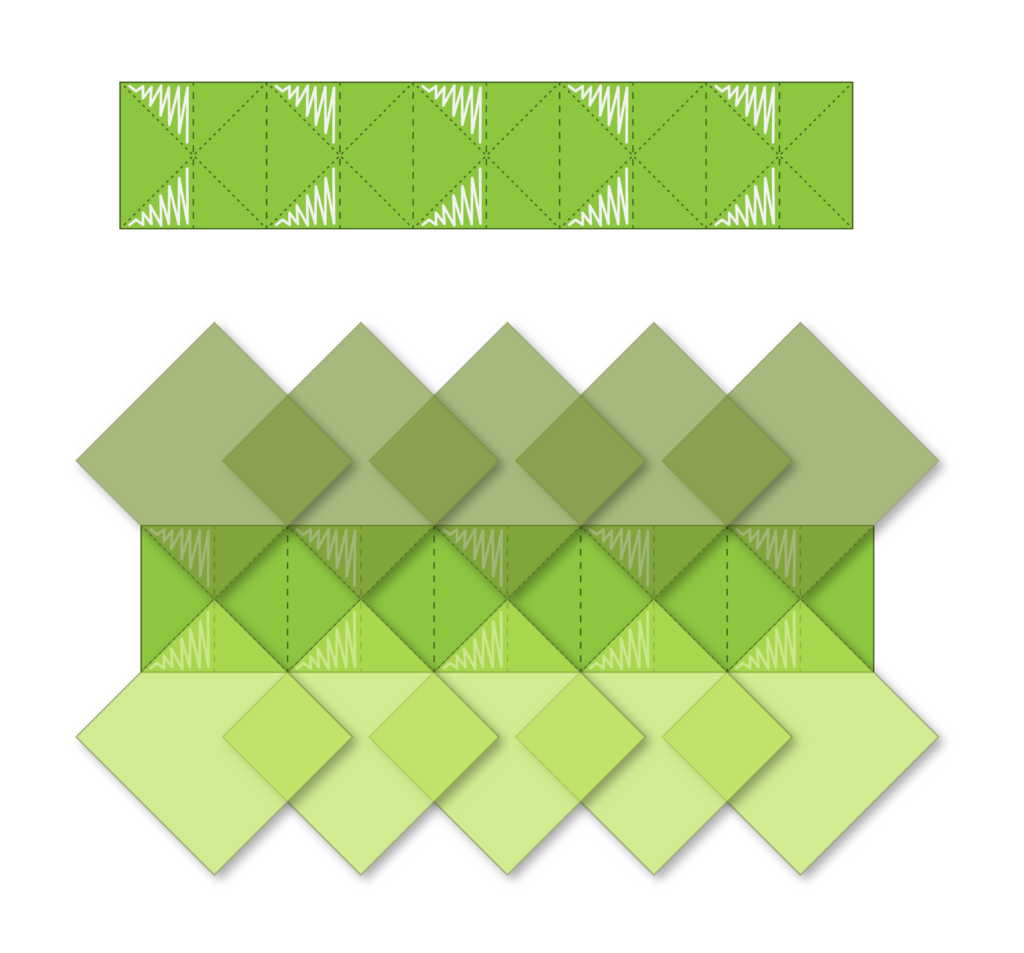
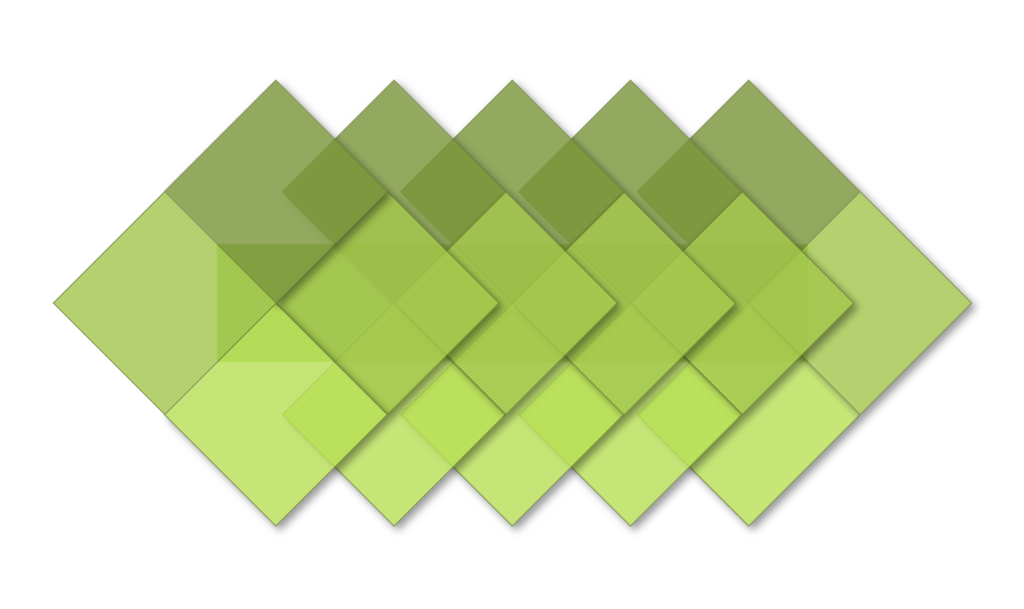
The full structure assembled:
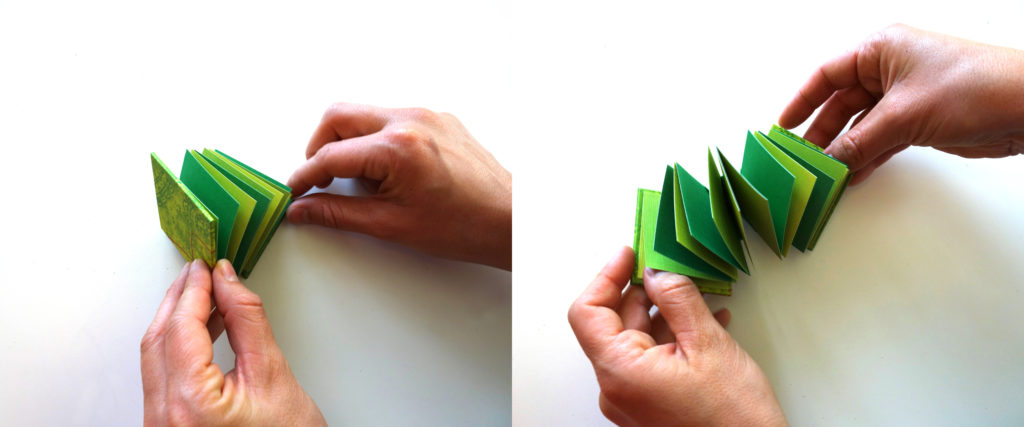
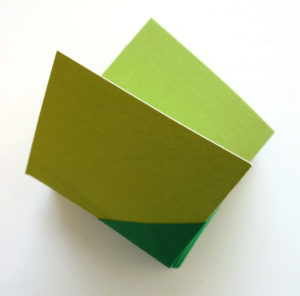
Step 3: Fold it all up! For each panel, fold left and right pages down first, tucking them into the spine folds. Then the center page will naturally follow, and you can work on the next panel.
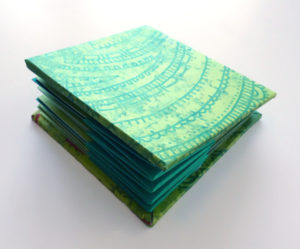
Step 4: Add covers. I used book board cut slightly larger than the pages covered with decorative paper. You could also add a ribbon to keep it closed.
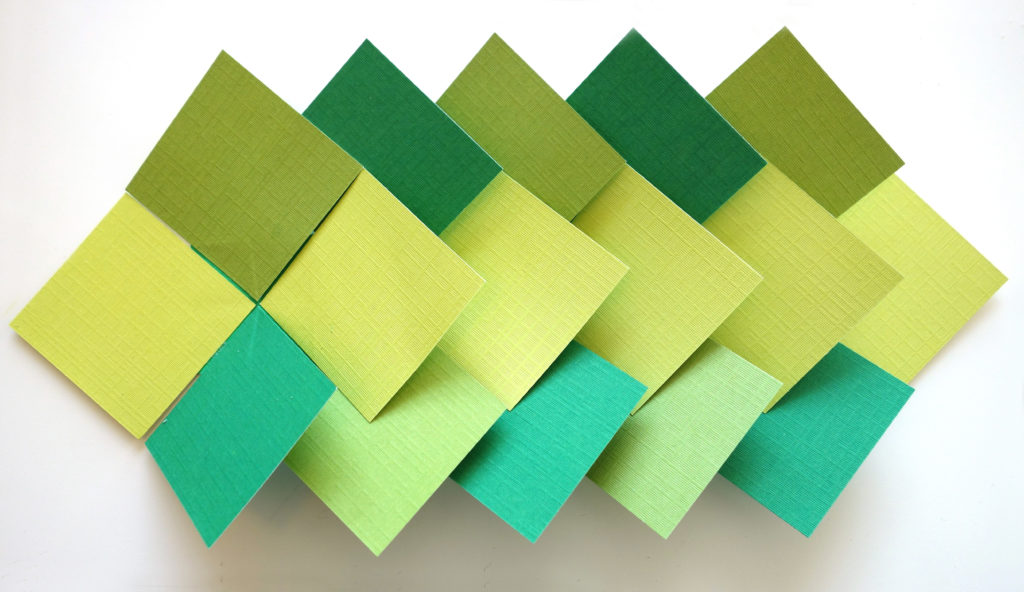
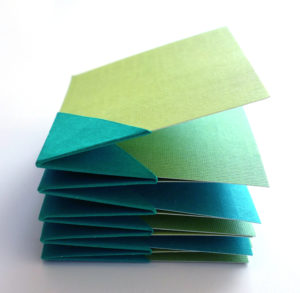
Design variations: You can change the spacing of the panels by varying the width of the spine strip. The middle illustration below uses the same proportions as the tutorial. The top illustration has the same pages and folds, but a wider spine strip. The bottom illustration also has the same pages and folds, but this time a narrower spine strip.

Leave a Reply to Ann edelman Cancel reply